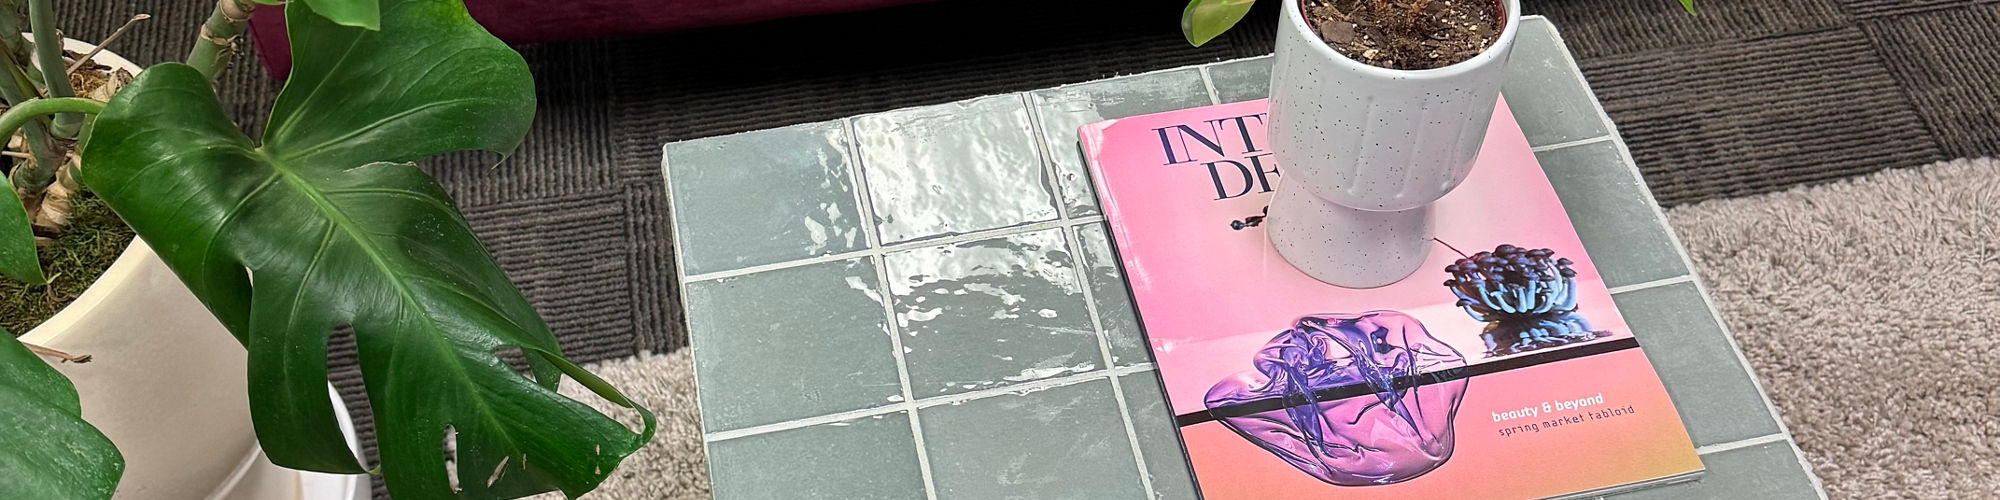
Tiling isn’t just for floors and walls. With the right materials, you can transform an ordinary table into a one-of-a-kind statement piece. We put two of our employees, both self-proclaimed non-DIYers, to the test. Using the Studio Haven collection and a few tools from a local hardware store, they each created stylish tile tables in just a few days. If they can do it, so can you!
Step 1: Gather Your Materials
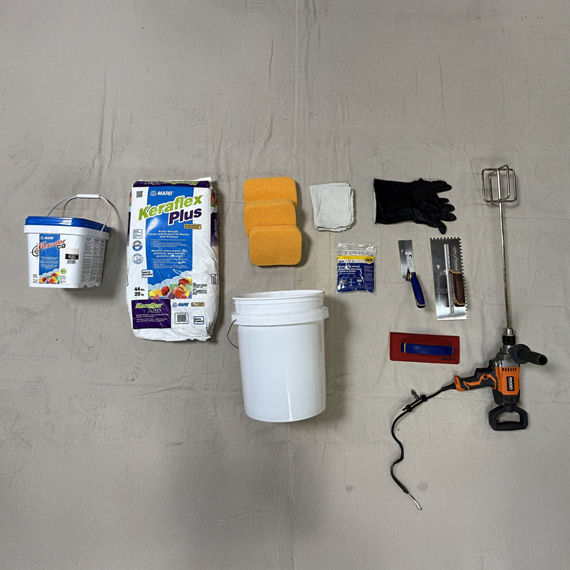
You don’t need a pro’s toolkit to get started. Here’s what you’ll need:
- Studio Haven 4x4 tile
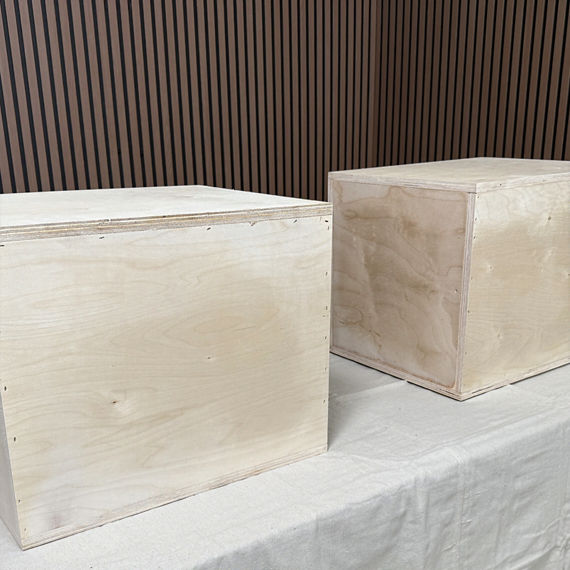
- Coffee or side table with a flat surface
- Mixing paddle
- Tile spacers
- Premixed grout (no mixing required)
- Thinset mortar (this you will mix)
- Notched trowel
- Grout float
- Sponge + buckets
- Pencil, drop cloth, rags, gloves
Step 2: Plan Your Design
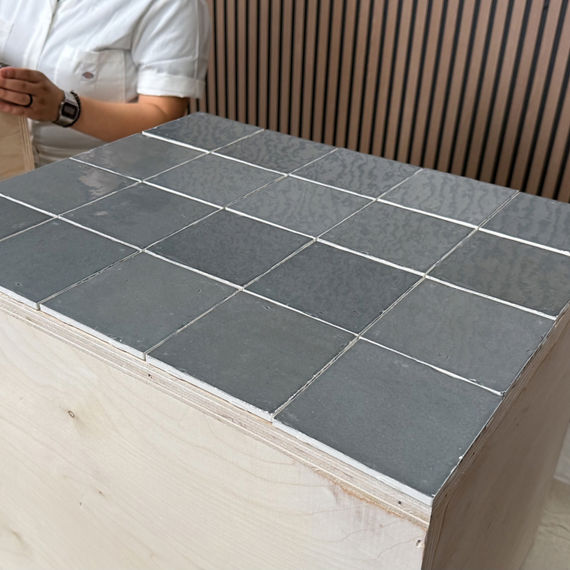
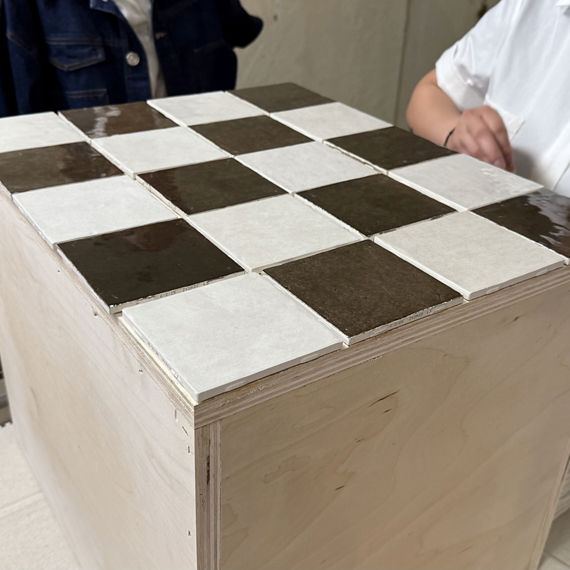
The fun part. Before you spread any thinset, lay out your tile on the tabletop to test the fit. Don’t forget to calculate measurements with spacers!
Pro Tip: Lugged tile like Studio Haven makes spacing easier, but using tile spacers helps keep lines clean and consistent.
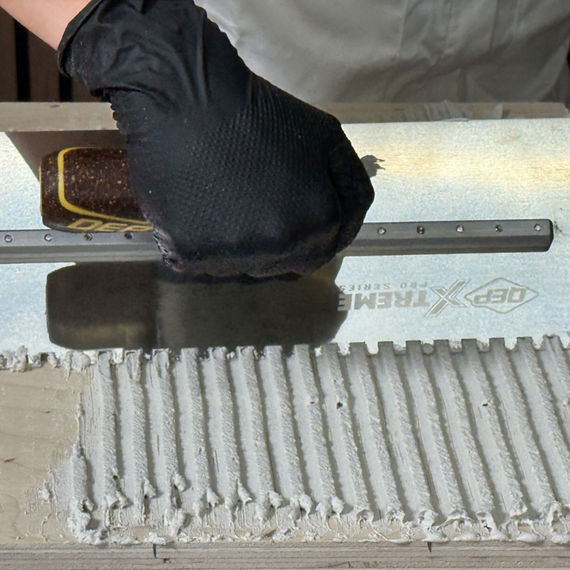
Step 3: Apply Thinset
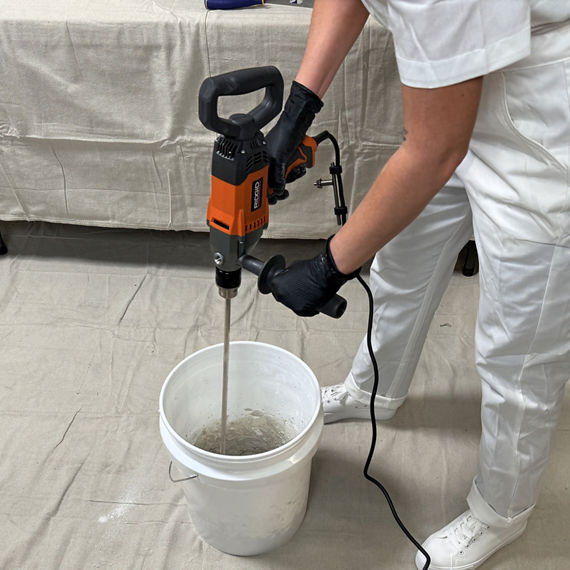
Time to commit.
- Mix your thinset according to the instructions using the mixing paddle and a bucket.
- Use a notched trowel to spread a thin, even layer on the table surface.
- Work in small sections so the mortar does not dry before you set the tile.
Step 4: Set the Tile


Place each tile into the thinset, pressing gently and giving a small wiggle to lock it in.
- Use spacers between tiles to keep grout joints even.
- Double-check your levelness as you go. Straight lines now will give you a polished look later.
Step 5: Grout the Joints


Once the thinset has cured (usually 24 hours):
- Remove spacers.
- Spread premixed grout over the surface with a grout float, giving it a light stir to make sure all liquid is incorporated.
- Press grout into the joints, then wipe off excess with a damp sponge. Keep a bucket of clean water nearby so your sponge stays fresh as you wipe.
- Let it set, then buff off haze with a dry cloth.
Step 6: Repeat Until Complete
If your table has multiple sides, follow Steps 3 through 5 until all surfaces are finished, allowing proper drying time between each. We loved the results: bone or cream grout for the checkerboard, glitter gray grout for the Fog table.
That’s it. Two first-time DIYers walked away with tables that look custom-designed. A tiled table is stylish, durable, and easy to clean, making it perfect for both indoor and outdoor spaces.